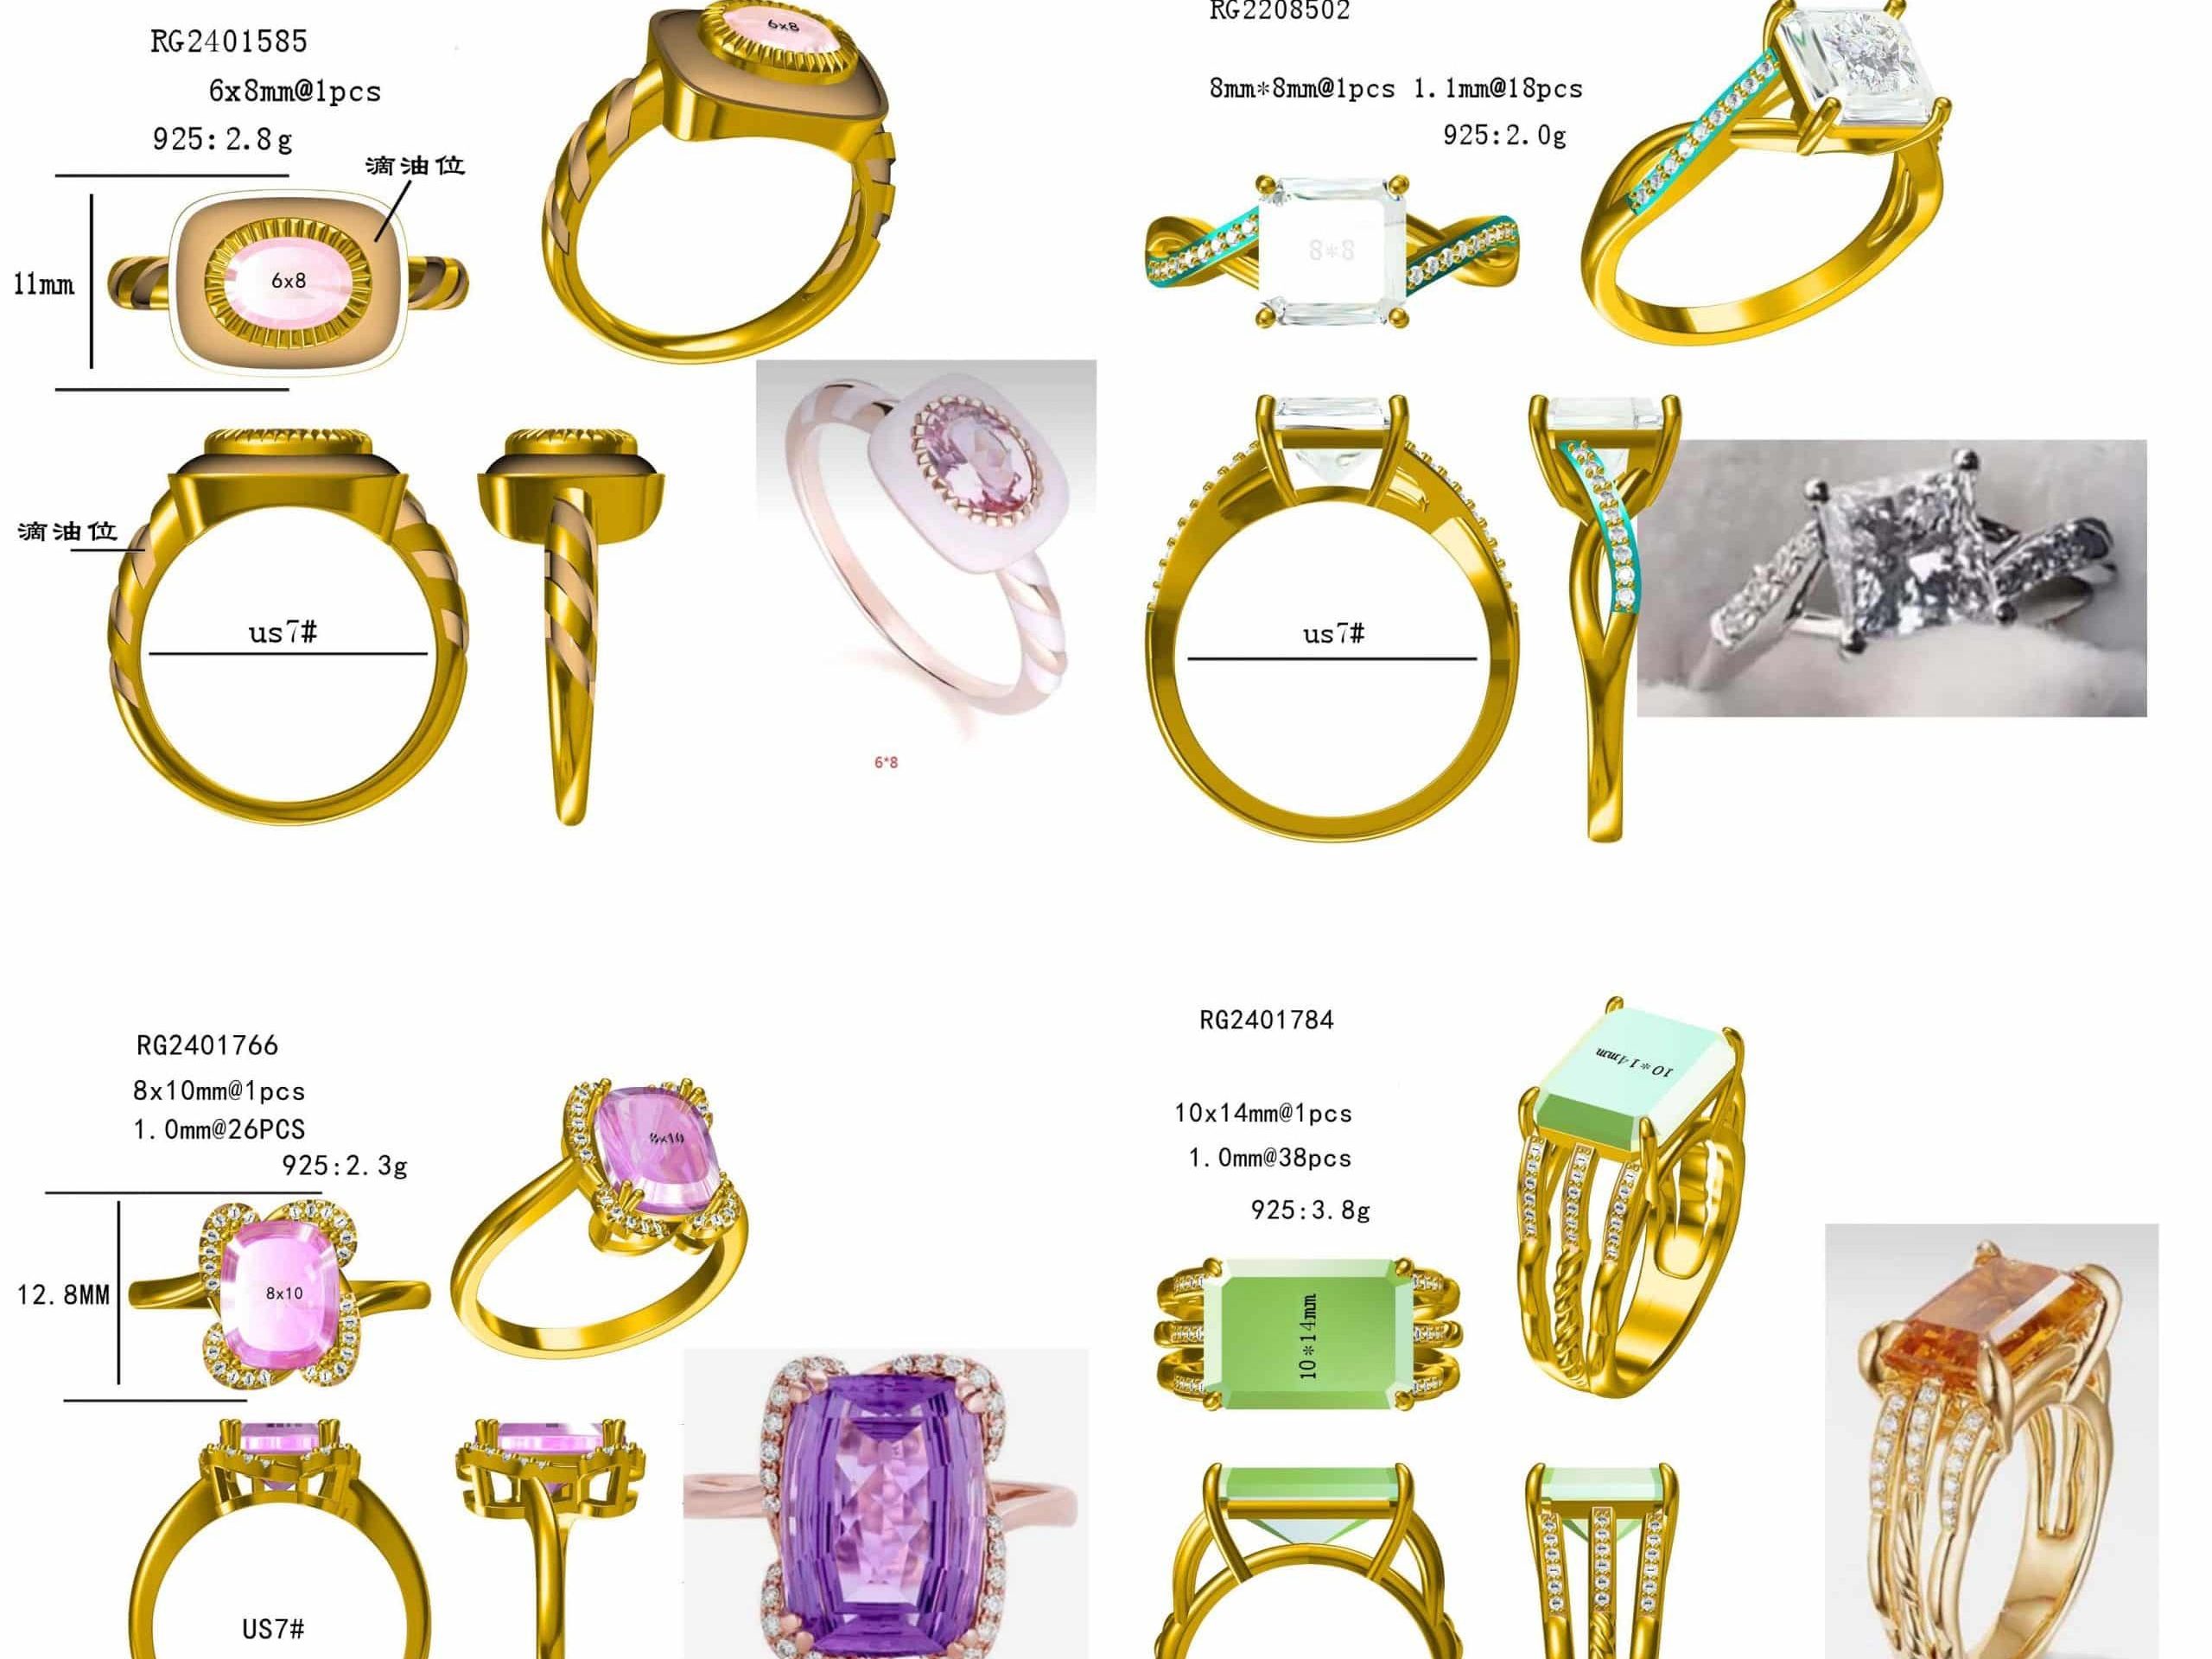
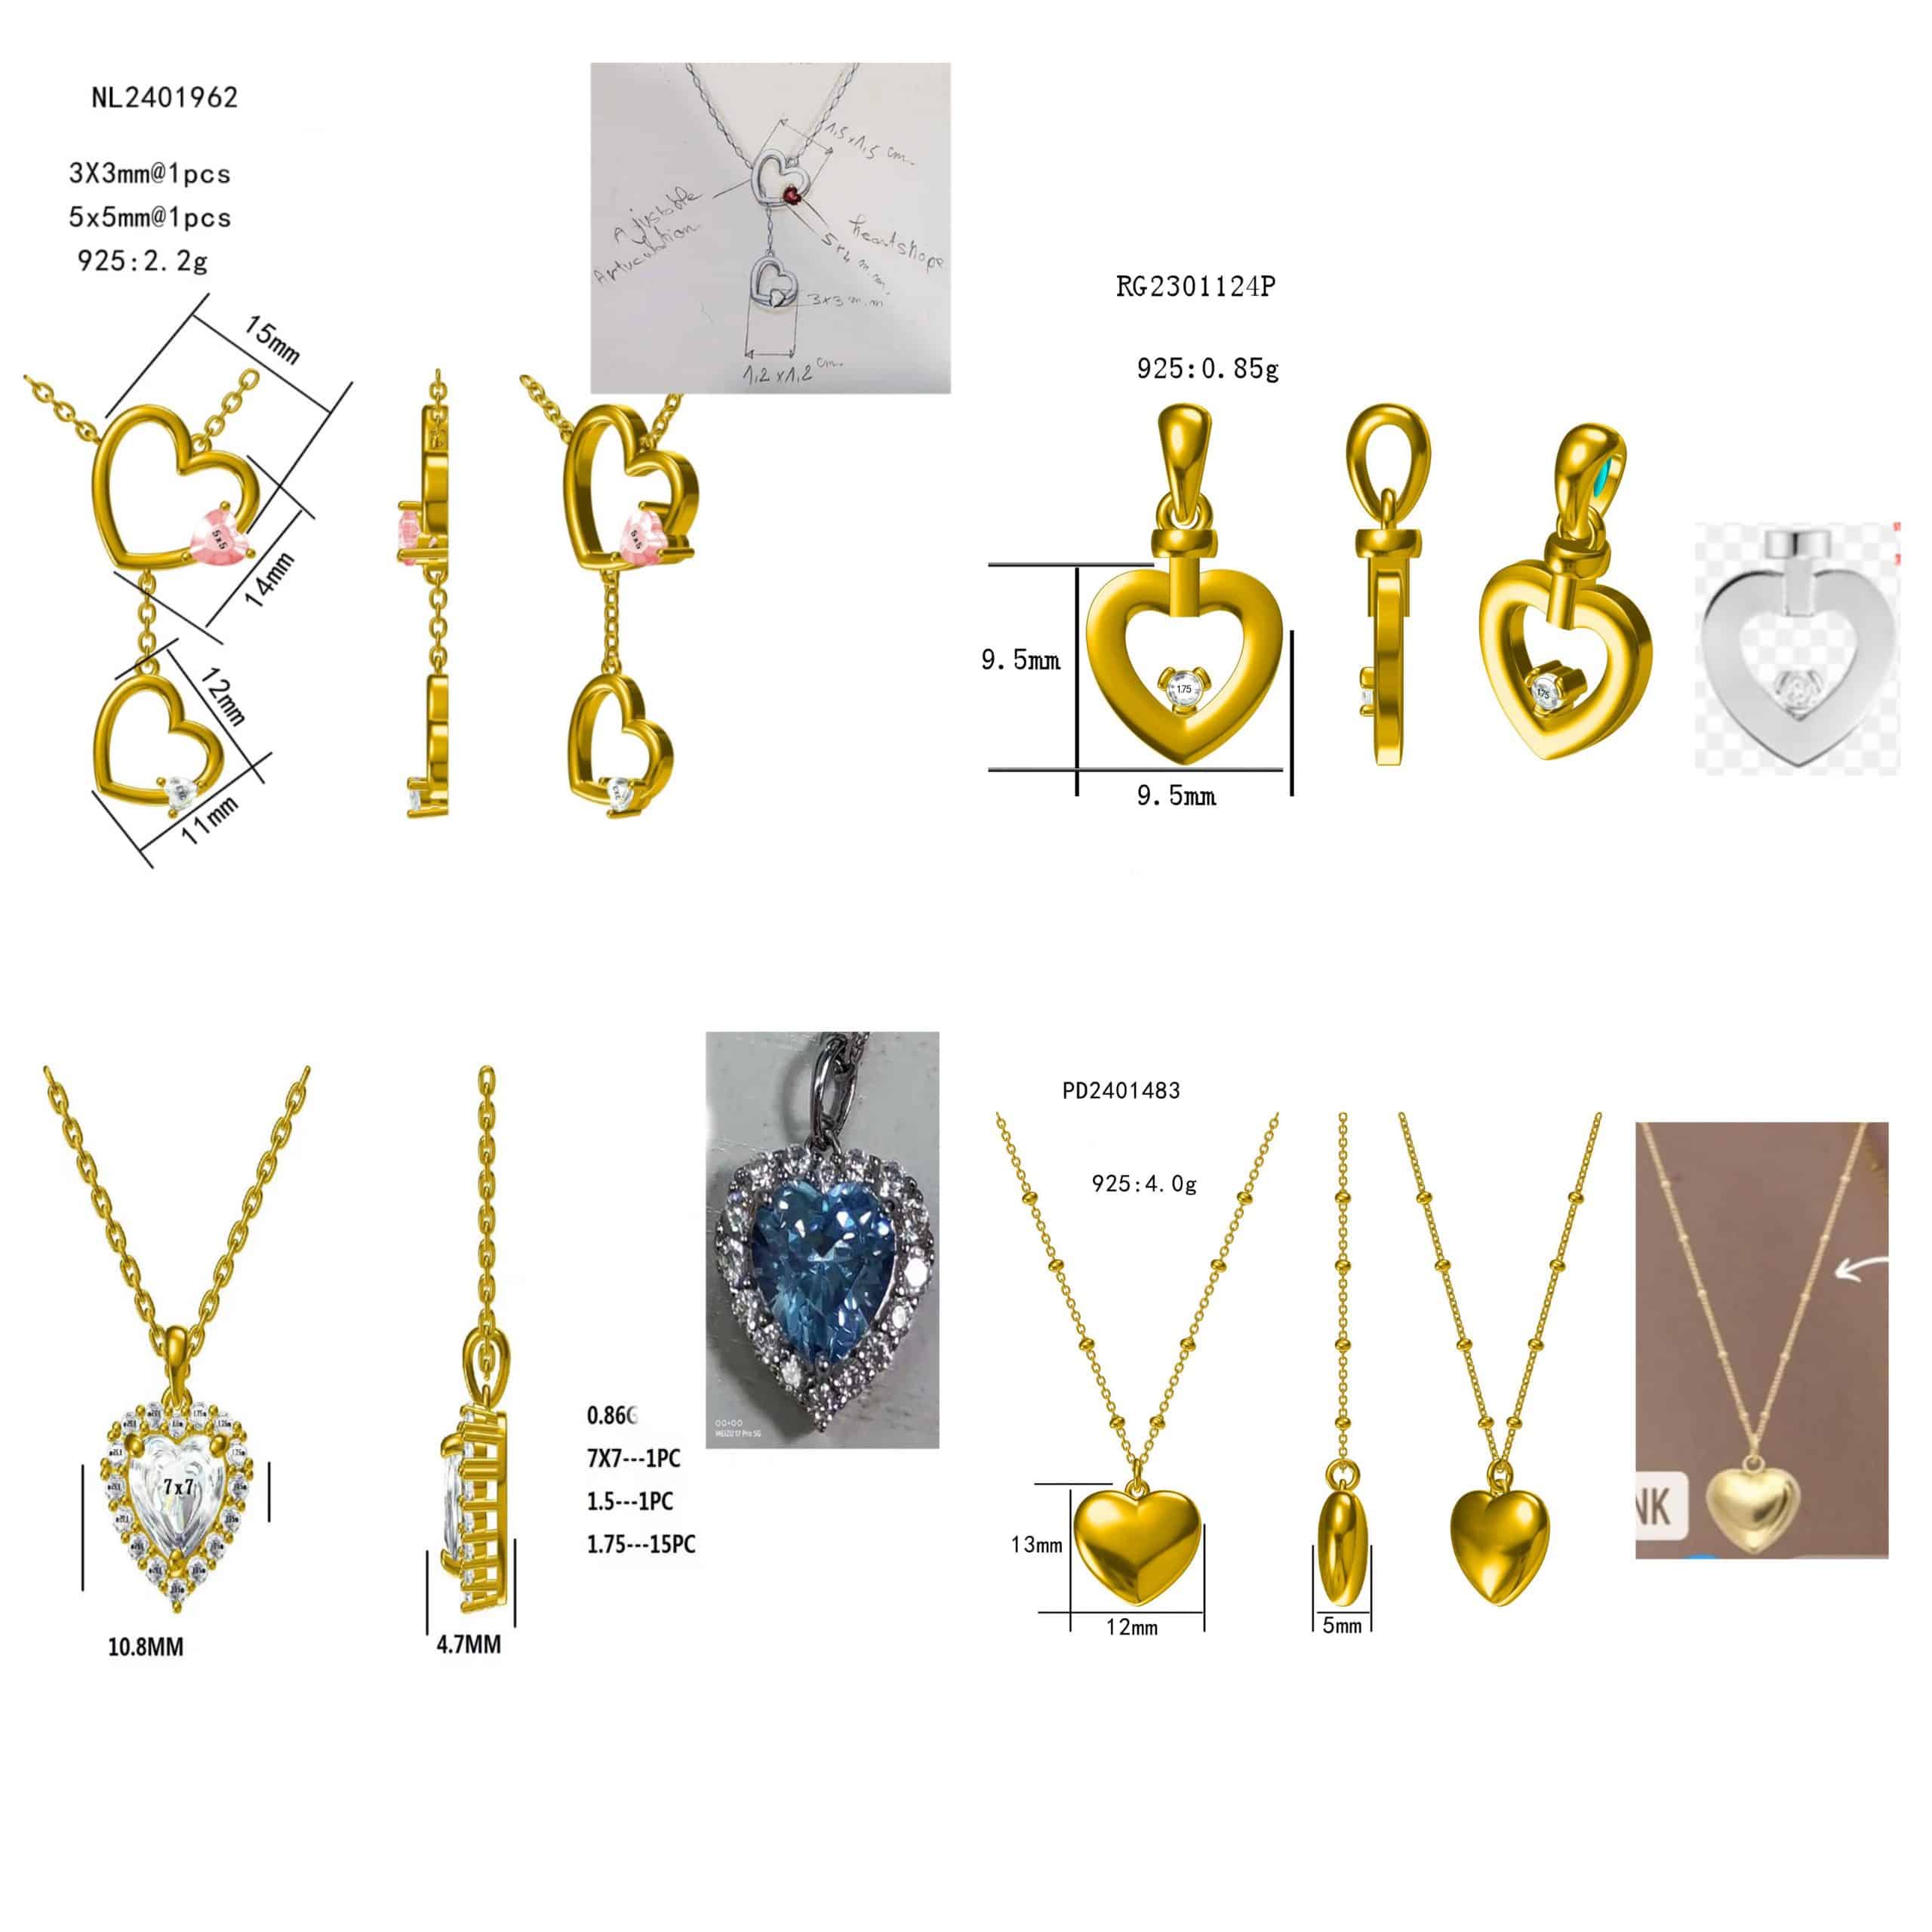
A good CAD drawing makes the next decisions easier. We work through dimensions, construction and stone placement with you, then prepare views you can review before a physical sample is made.
A render can show the idea clearly, but it cannot tell you everything about weight, comfort or how a clasp will work. Our design process connects the drawing to those practical questions.
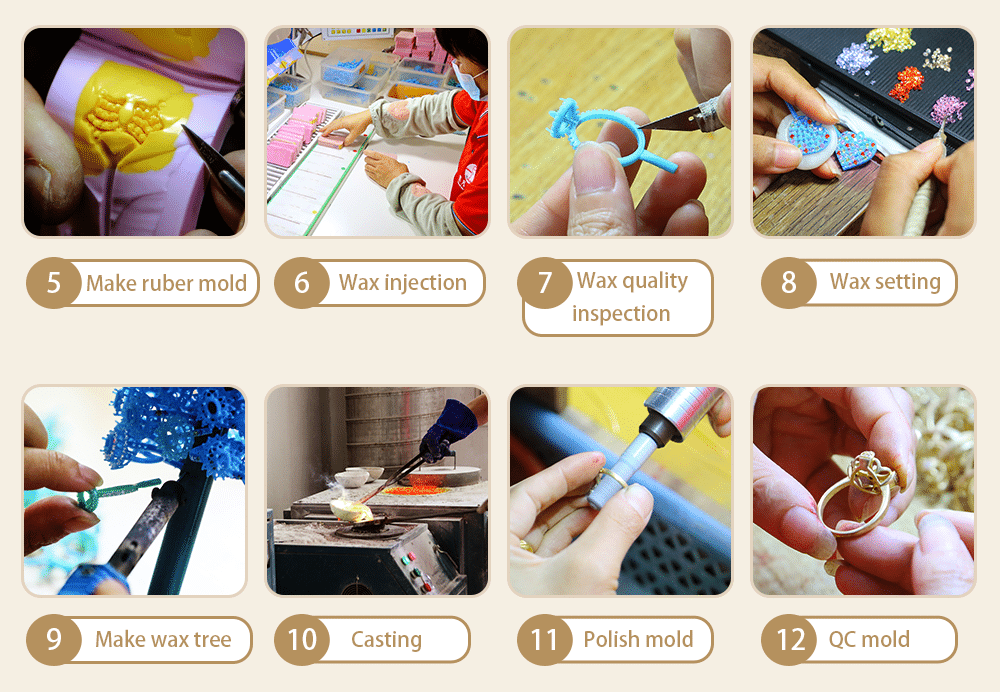
Experience with the production steps
Our team reviews the drawing in the context of forming, setting, polishing and assembly, so practical questions are raised before tooling.
CAD views for review
We prepare views that show the shape, dimensions and construction. The scope and timing depend on the design and are confirmed before development.
Confidentiality agreed early
Tell us your confidentiality requirements before sharing sensitive files. Any NDA, file-use terms and design ownership should be agreed in writing.
Quantity considered from the start
Tooling and components affect the workable order quantity. Share your expected quantity per design and color during the brief.
A quotation with a clear basis
Material, weight, tooling, setting and finishing all affect cost. We explain the development and production items included in the quotation.
Sample and delivery planning
Let us know the delivery destination and any fixed launch date. We confirm sampling, production and freight separately.
See the design from more than one angle
CAD views help you compare proportions and spot details that are easy to miss in a sketch. We use your feedback to refine the model before moving to tooling and sampling.
01
Review the proportions
Check the profile, thickness, dimensions and stone placement in the CAD views. Consolidated feedback helps make the next revision clear.
02
Review the construction
We look at joints, thin sections, setting areas and polishing access. Small changes can make the finished piece more practical to produce.
03
Confirm with a physical sample
The approved CAD guides development, and the physical sample checks the result. Both remain useful references for production.
You do not need a finished CAD file to begin. Mark the dimensions you know and describe the details that matter most. We can help resolve the remaining construction questions.
What you can bring to the first discussion
A conceptual jewelry design in your head
Reference images that explain a shape, detail or style direction
Agree the dimensions and construction, review the drawing, then check a physical sample before production.
01
Step 1: Initial Consultation & Briefing
You share your design concept, target audience, and budget. We listen carefully to ensure we fully understand your goals.
02
Step 2: 3D CAD Modeling & Visualization
We prepare CAD views for review. Additional renders or videos can be agreed where they help explain the construction.
03
Step 3: Feedback & Revisions
Send a consolidated list of changes. We confirm the scope and timing of further revisions before proceeding.
04
Step 4: Final Approval & Quotation
Once you approve the final 3D design, we provide a comprehensive quote detailing the cost, MOQ, and production lead time.
05
Step 5: Sample Production
We create a physical master sample based on the approved CAD file for your final hands-on approval.
06
Step 6: Mass Production & Delivery
Once the sample and specification are approved, we schedule production, inspection and shipment.
Choose materials alongside the design
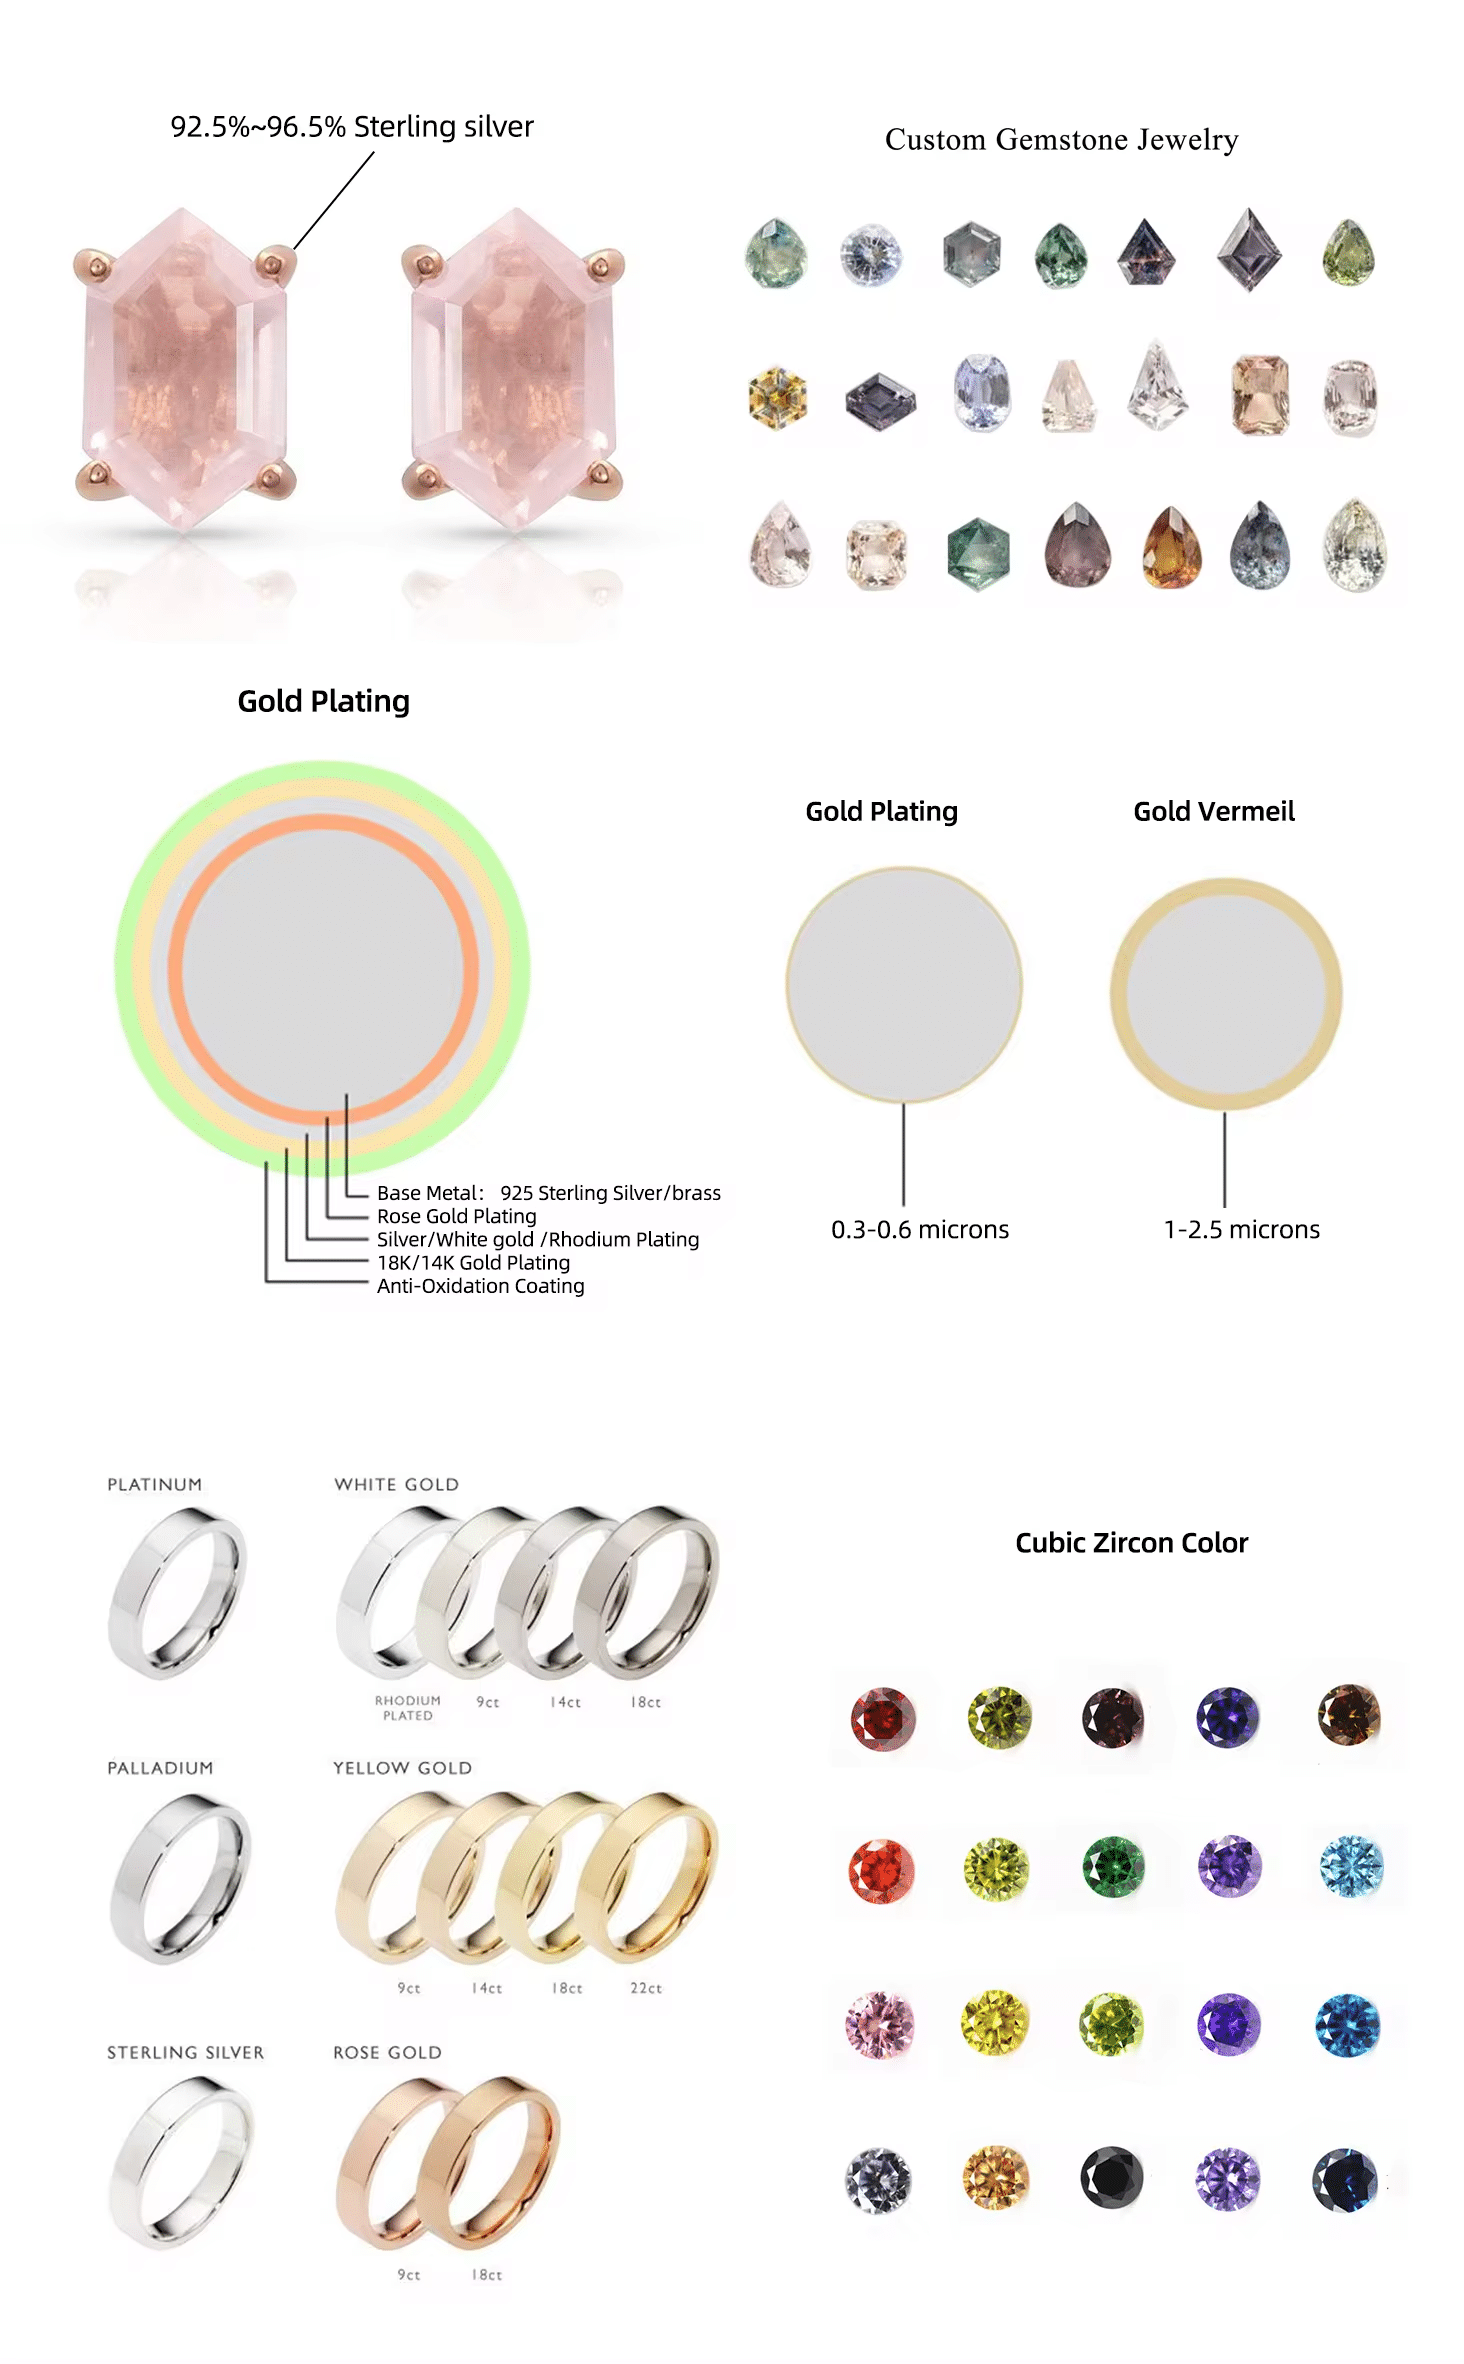
The same shape can behave differently in stainless steel, brass or silver. Material, weight, stones and finish should be considered while the model is being developed.
Metals
We work with 304 and 316L stainless steel, brass and 925 sterling silver. Confirm the material for each component before the drawing is approved.
Plating
Discuss the required color, surface texture and coating. PVD is used for stainless steel; electroplating is used for brass and silver.
Stones
Choose the stone material, size and cut before finalizing the setting. We can compare available options against the design and target price.
Keep the drawing and sample in step
A record for production and reorders
Once the sample is approved, keep the final drawing, material specification and finish reference together. Record any later changes against that version so production has a clear instruction.
Step 1 – First Talk
You tell us what you want to make, who will wear it, and how you plan to sell it.
We ask simple questions to be sure we understand your idea and your budget.
Step 2 – 3D Concept Model
Our 3D jewelry designers build the first model and send clear images and a short turn-table video.
You check the shape, size and stone layout and send your comments.
Step 3 – Feedback & Changes
You share what you like and what you want to change. We adjust thickness, details and logo position in the CAD until the design feels right.
Step 4 – Final CAD and Quotation
Record the final CAD version with the material, finish, quantity and quotation before sample approval.
Step 5 – Sample Production
Our factory makes a master sample based on the final CAD.
We share photos and, if you like, ship the sample to you for final checking.
Step 6 – Mass Production and Reorders
After you approve the sample, we move to bulk production under the same standard.
For later reorders we use the same CAD file and master sample as the reference, so your design stays consistent.
What to include in your first brief
A rough drawing is enough to open the discussion. The following details help us ask the right questions and prepare a useful quotation.
Your Main Goal
Write in one or two lines what the jewelry should do for your brand.
For example: “hero ring for social media” or “simple pendant for gift box”.
Target Customer
Tell us who will wear the piece: age range, style and price level.
This helps us match material, weight and size to real users.
Basic Reference
Share photos, links or hand drawings that show the general look you like.
We do not copy other brands, but we use these images to understand your taste.
Material and Color Idea
Let us know if you prefer stainless steel, brass or 925 silver, and which plating colors you like.
If you are not sure, we will suggest a simple plan based on your market.
Size and Fit
Tell us ring sizes, chain length or wrist size.
Good size information makes the 3D model more accurate and more comfortable to wear.
Budget Range
Share a rough target price and quantity per design.
This helps our custom jewelry manufacturing team choose structures that fit your budget from the start.
Practical support during design development
Construction advice
Discuss joints, wall thickness, setting height and access for finishing before committing to tooling.
A defined review process
Agree the development scope and send feedback against a clearly identified drawing version.
Details suited to your customer
Review the dimensions, weight and feel around the intended wearer and price point.
Examples of design development
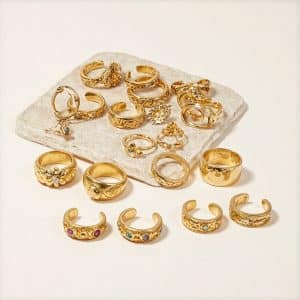
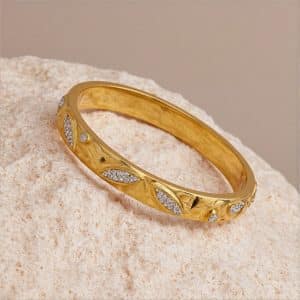
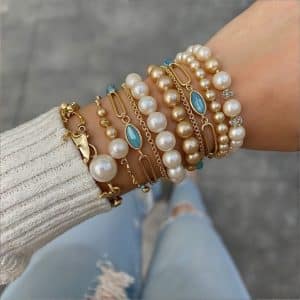
These examples show how dimensions, settings and component details are developed through the drawing. Your project will have its own material and construction requirements.