

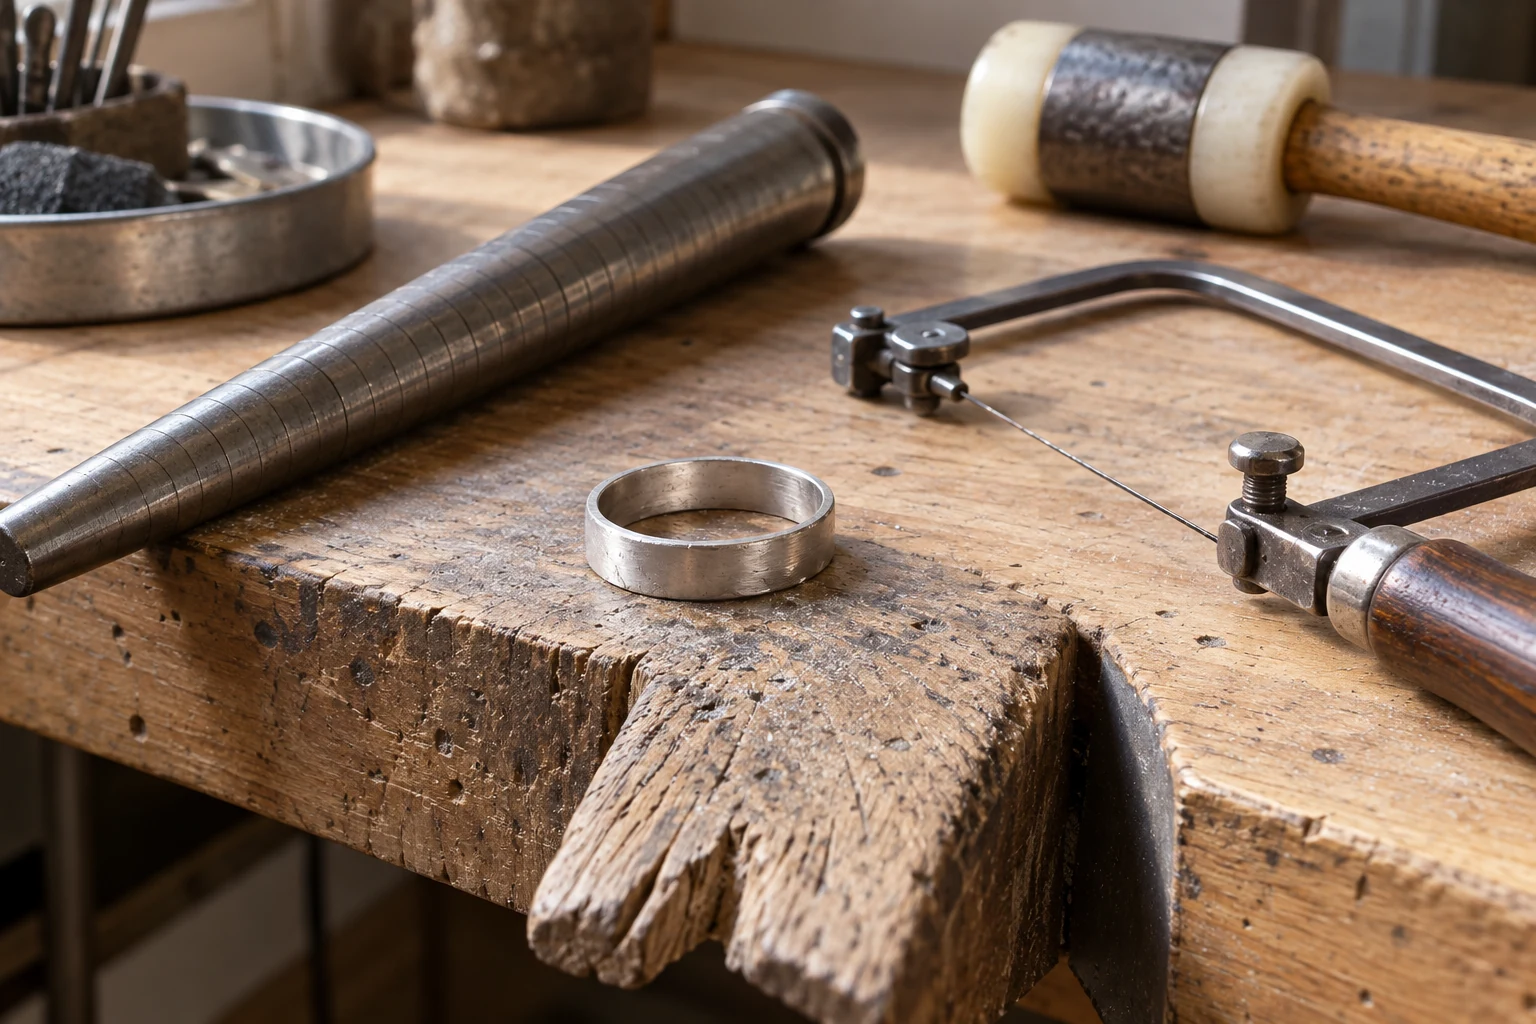
There are four common routes to making a metal ring: shaping stock by hand, casting a pattern, forming metal clay, and developing a CAD model for a suitable manufacturing process. Choose the route around the design, material, available equipment and quantity. A plain band and a stone-set signet ring usually need different development decisions.
This guide explains the workflow and approval points. Torch work, casting and kiln firing require training, suitable ventilation, protective equipment and the equipment manufacturer’s instructions; a short online sequence is not a substitute for workshop instruction.
| Method | Useful starting point | Main constraint |
|---|---|---|
| Fabrication from wire or strip | Simple bands and one-off designs | Accurate joints, forming and hand finishing. |
| Lost-wax casting | Sculptural forms, repeated designs and integrated settings | Pattern quality, casting allowances and cleanup. |
| Metal clay | Textured, hand-shaped designs in a compatible clay system | Product-specific firing and shrinkage. |
| CAD with printing or machining | Dimensioned designs, size families and repeatable revisions | A manufacturable model and validation in the intended metal. |
If you want to understand sizing and hand finishing, a plain practice band is a more manageable starting point than a ring with several settings. If your main interest is sculptural design, a wax-modeling class may be more useful than buying a soldering setup. If you want to launch a collection, you can begin with a clear drawing and a manufacturer’s feasibility review rather than first acquiring every workshop skill.
A beginner’s discussion about where to start quickly becomes a question about the kind of jewelry and material they want to use. That distinction changes the tools, instruction and budget required. Select one small project, understand its process with a qualified instructor, and buy the tools required for that project instead of an unrelated large kit.
For a first band, keep a record of the stock dimensions, estimated length, forming and joining route, and final size. Measure again after finishing. If the result changes, those notes help you locate the cause rather than simply cutting the next blank shorter or longer by guesswork. A practice piece is useful even when it is unsuitable for sale.
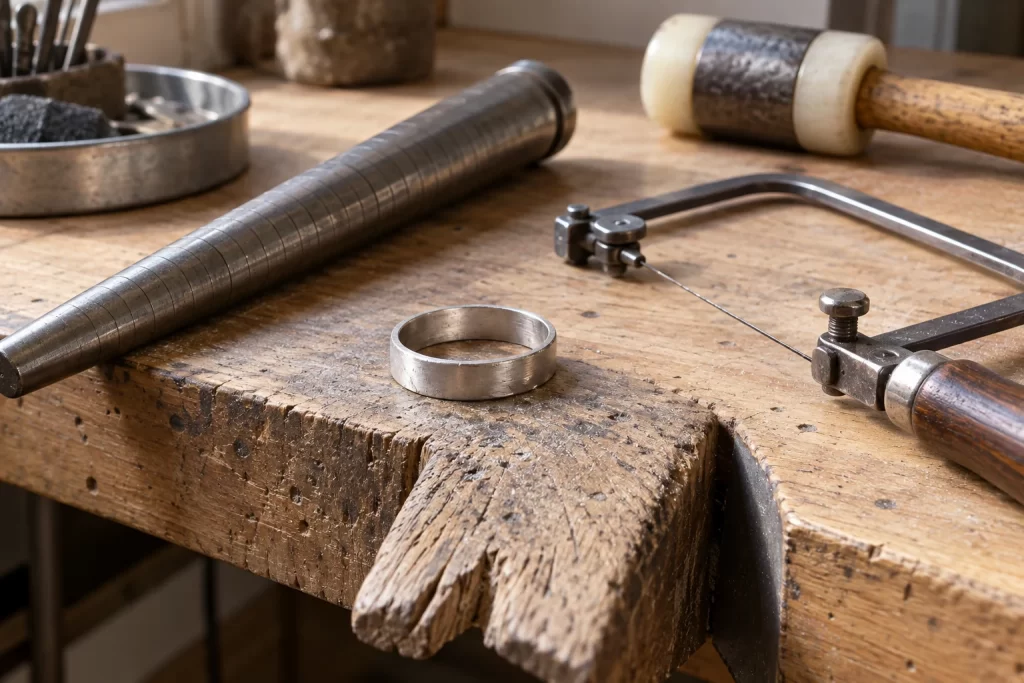
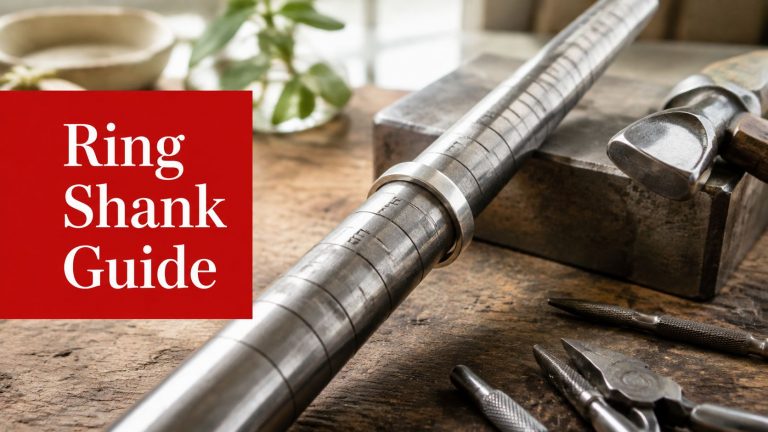
A ring mandrel, ring-size gauges, caliper, jeweler’s saw, files, suitable pliers, a non-marring mallet and progressively finer finishing materials support the basic measuring and forming work. Secure the work at a bench pin or appropriate support. Soldering requires a separate, correctly equipped work area and training in the chosen metal and joining process.
Measure the finger with a gauge appropriate to the proposed band width. Wider bands can feel different from narrow ones. Record the sizing system, target finished size, width, thickness and inner profile; do not rely on a photograph or an unverified international conversion chart alone.
For a simple band made from uniform strip, an approximate starting length is:
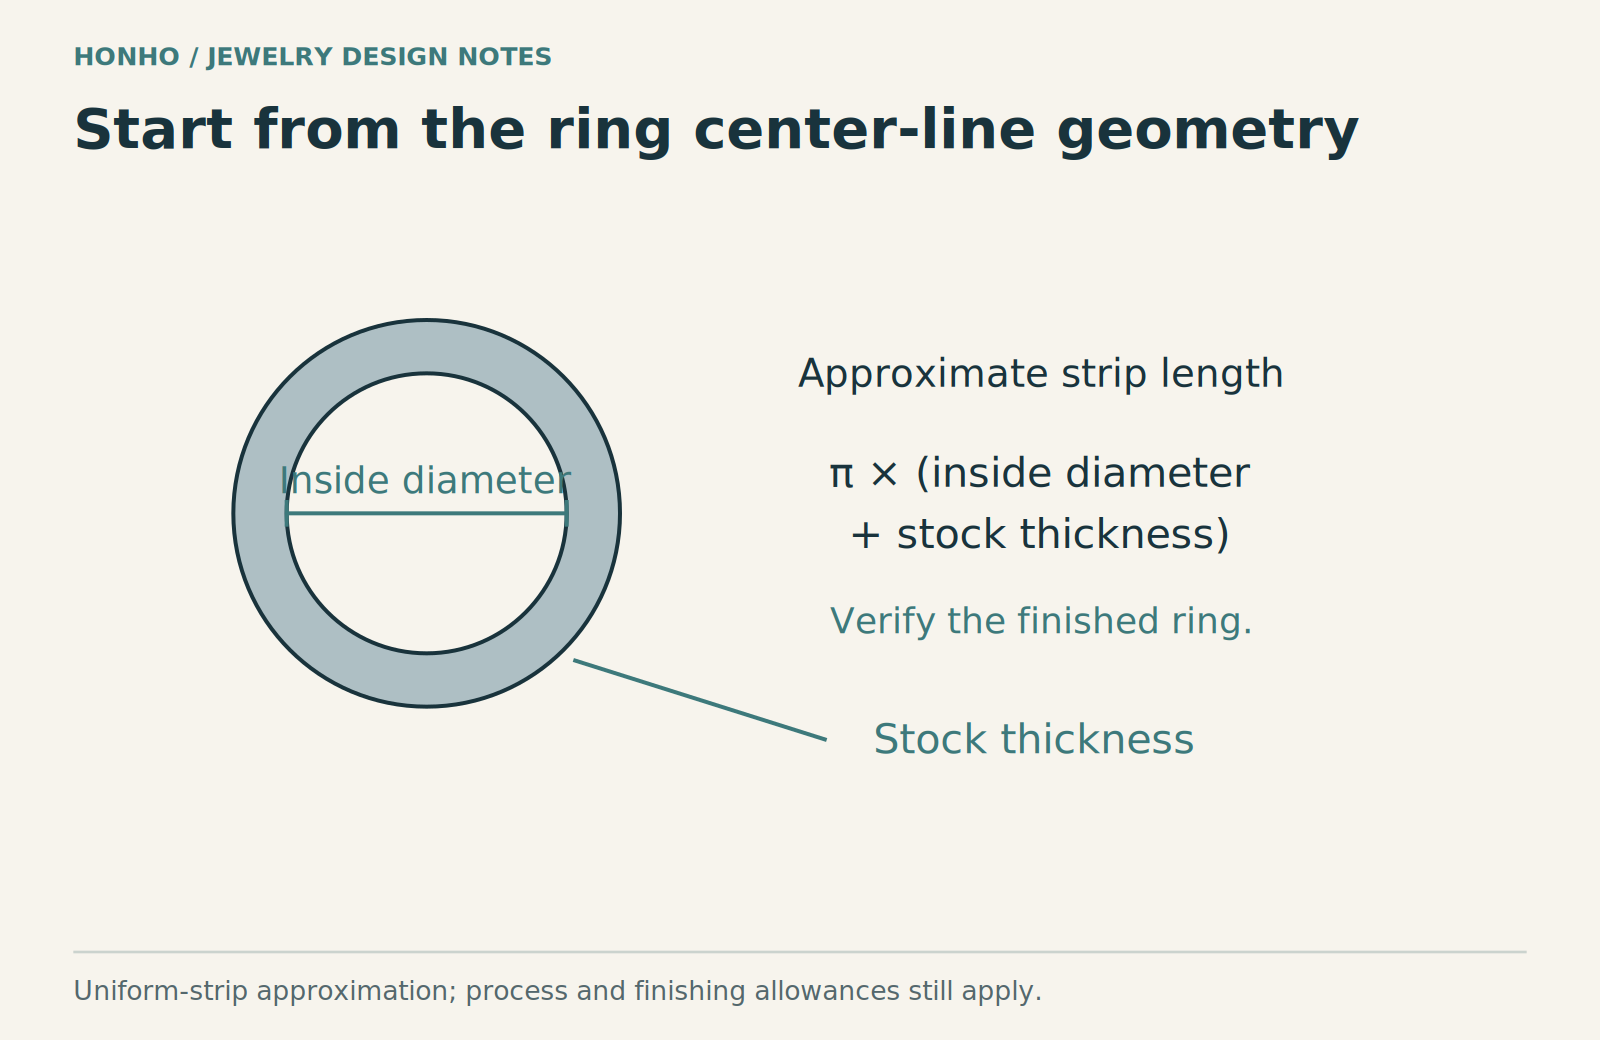
Blank length ≈ π × (finished inside diameter + stock thickness)
For an 18.0 mm inside diameter and 1.5 mm thick strip, the estimate is π × 19.5 mm, or approximately 61.3 mm. This follows the center line through the stock. It is a starting estimate, not a finished-size guarantee: profile, forming, joint preparation and finishing change the result. Decide cutting and finishing allowances for the actual process, then check a trial band before making a batch.
Practice the process before using expensive material. An open band avoids a soldered joint, but it still needs adequate stiffness, a comfortable gap and edges that do not catch or scratch.
A wax or compatible castable pattern is connected to a feed system, invested in a refractory mold, removed during burnout, and replaced by molten metal. After cooling, the casting is recovered, cut from its feed connections and finished. Formlabs’ lost-wax casting overview explains the relationship between the pattern, investment and final casting.
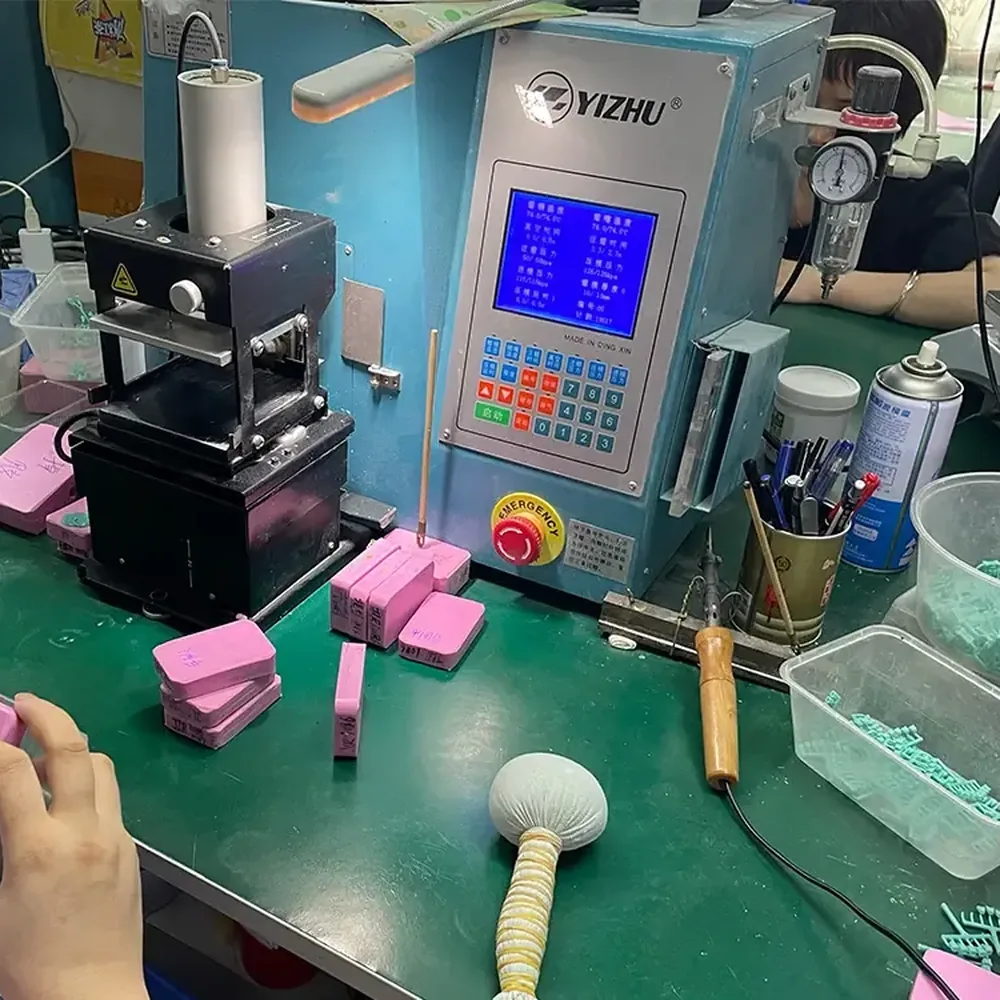
The practical approval questions are wall thickness, setting geometry, shrinkage allowances, porosity risk and access for finishing. Review the first metal sample, not only a wax or resin pattern. For a production project, our jewelry casting guide provides further context.
Stuller’s casting-department video on YouTube shows the industrial route from wax patterns and a sprue tree through investment, casting and separation. The original publisher’s transcript makes those stages explicit. It is a process overview, not a home casting procedure or evidence that every alloy uses the same equipment and settings.
Metal clay combines metal particles with a binder. Form the design, dry and refine it, then fire it according to the exact product’s instructions. Clay systems differ in equipment requirements, firing schedules and shrinkage; one universal temperature or shrinkage percentage would be misleading.
Use the supplier’s ring-sizing guidance and test the chosen clay before a fitted order. Inspect the fired ring for cracks, incomplete joins and the strength needed for its design before final finishing.
Begin with finished dimensions, a stone specification if applicable, the metal and the planned manufacturing route. Review minimum sections, setting access, comfort edges and room for polishing. A rendered image helps evaluate appearance, while dimensioned views help evaluate the physical design.
Depending on the process, the file may be used to print a castable pattern or support machining and tooling. A printed resin model is not the finished jewelry. Approve the metal sample for size, weight, balance and finish, and retain the final model revision for reorders.
Sterling silver, brass and stainless steel differ in how they respond to forming, joining and finishing. A technique suitable for a silver workshop project may be unsuitable for the intended steel grade or coating. For a manufactured steel collection, discuss the design with a stainless steel jewelry manufacturer before assuming it can follow the same bench process.
A ring family needs a plan for the shank, top and settings at each size. Increasing the entire model proportionally can change more than the finger opening: stone seats, logo dimensions and decorative proportions may also change. Decide which features remain fixed and which dimensions are adjusted to create the size range.
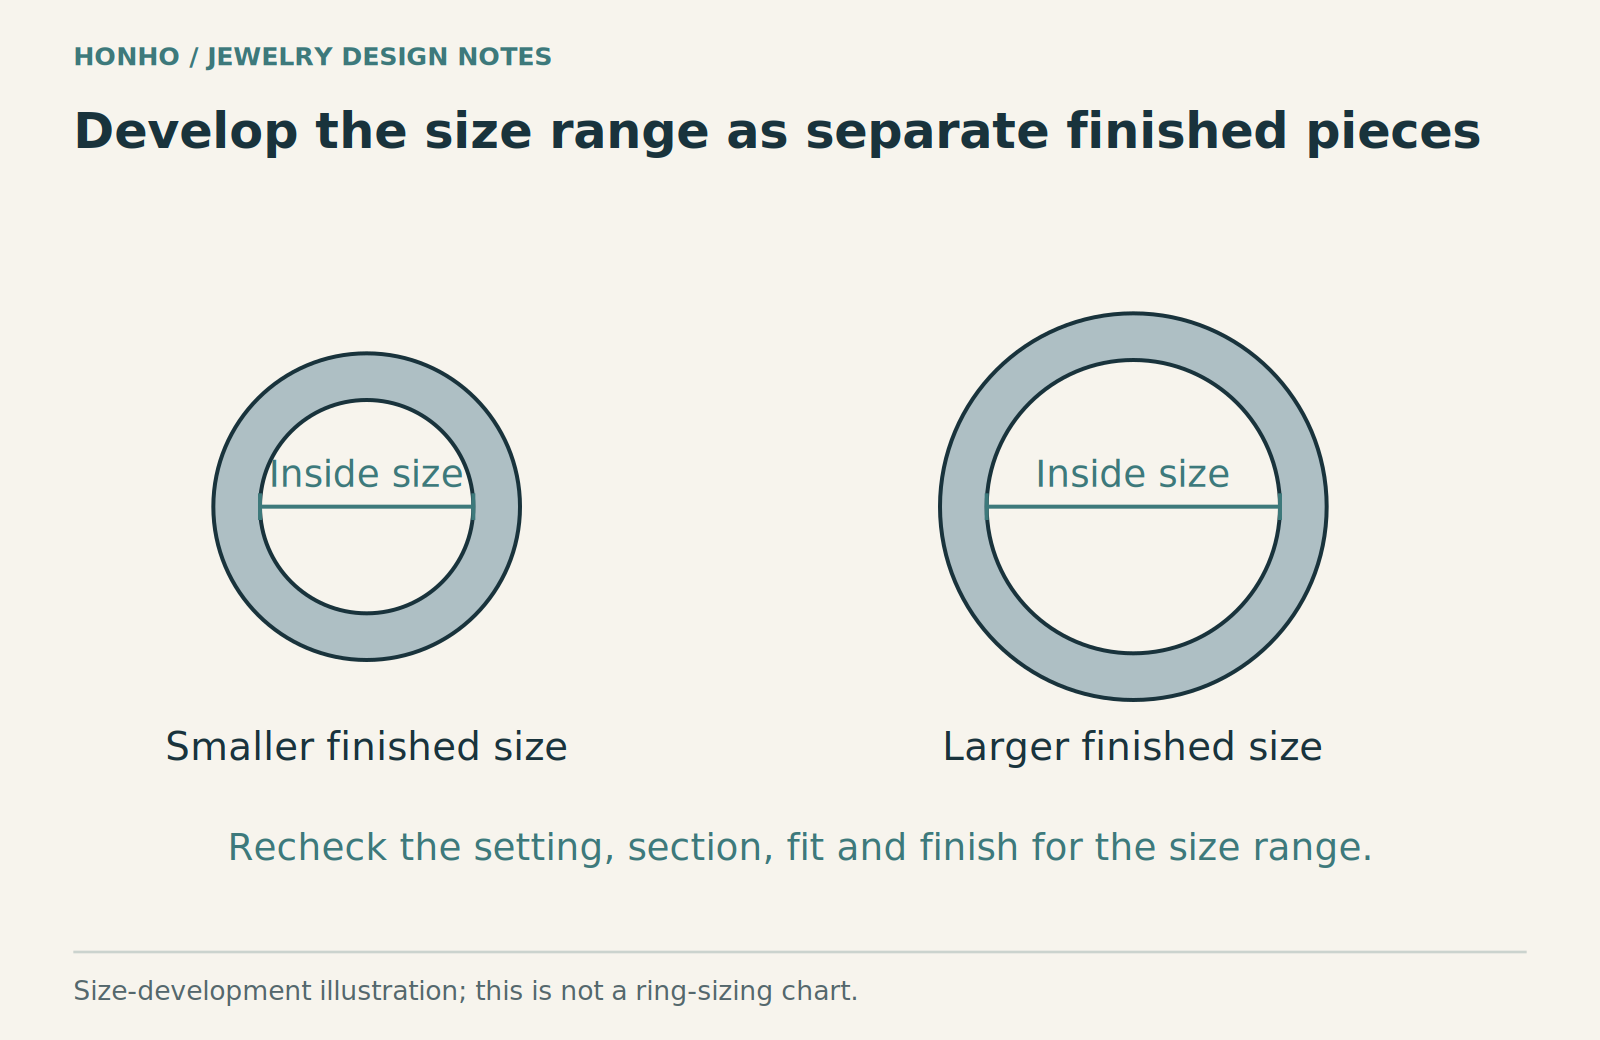
Show the finished inner diameter or relevant size requirement, band width, thickness at named positions and inner profile. Use the sizing system and gauge agreed for the order. A rounded comfort interior and a flat interior can feel different even when the stated size is the same, so retain a representative finished sample for fit approval.
Casting, forming and material removal can affect the final geometry. The manufacturer should determine process allowances for the actual material and route, then validate the first metal sample. Do not apply one shrinkage percentage to every alloy, pattern system and ring design. The finished measurement is the acceptance point.
Mark the places where section is especially important: the lower shank, shoulders, a thin open end or the metal surrounding a setting. A front render may conceal those sections. Request dimensional views and inspect them after the planned polishing and coating, when the piece is ready for the customer.
| Design feature | Review on the metal sample | Possible development decision |
|---|---|---|
| Wide band | Fit with the intended width and inner profile | Refine sizing or comfort geometry |
| Raised signet or decoration | Balance, edge comfort and retained detail | Revise section or finishing access |
| Stone setting | Actual stone fit and access for setting | Adjust the seat or surrounding geometry |
| Open ring | Gap, smooth ends and intended adjustment behavior | Clarify fitting instructions and allowable movement |
Keep any revision tied to a new drawing or model version. If the setting changes, inspect it with the actual specified stone. If the band changes, repeat the fit review. A corrected photograph can show progress, but it does not replace approval of the revised metal sample where size or function is affected.
A bezel surrounds the stone; prongs hold it at selected points; channel and pavé arrangements require accurate seats and spacing. Choose the setting around the actual stone dimensions and durability, the intended wear and the setter’s access. Avoid treating all stones of the same advertised size as identical.
Provide clear front, side and inside views with the dimensions you know. Identify the material, intended finish, size range and any stone or moving part. Explain which details are essential and which can change. A sketch can start the discussion, but a photograph alone leaves the hidden section, inner profile and attachment or setting geometry unresolved.
Ask for a dimensioned proposal before approving tooling. Check the back and underside as carefully as the display face, and clarify who will provide the stone dimensions or samples. Approve the drawing revision that will be used to make the first metal sample. A realistic render can help you judge proportions, but it cannot establish weight, comfort or the strength of an untested section.
When the sample arrives, review one concern at a time: fit, inner comfort, weight and balance, setting, then surface. Mark requested changes on the current drawing instead of sending disconnected messages about different revisions. This gives HonHo a clear basis for quoting the next sample and for keeping the approved design consistent across sizes.
Provide a size breakdown, technical drawing, material, finish, logo artwork, stone details and packaging requirements. Agree which measurements are critical and how they will be inspected. Use our custom jewelry quote template to separate development costs from unit production and avoid comparing incomplete quotations.
| Feature | What to record | Why it matters |
|---|---|---|
| Size and fit | Sizing system, gauge used, inside dimensions and band width | The same nominal size can feel different with a wider or differently shaped band. |
| Section | Width and thickness at named positions | Finishing can remove more material at exposed edges. |
| Inside surface | Comfort edge, joints and visible tool marks | The contact surface is easily missed in a front-view rendering. |
| Setting | Actual stone dimensions and seating | A nominal stone size does not define every outline or depth. |
| Reference | Drawing revision and sample identification | A reorder needs a fixed reference for comparison. |
Approve the ring after the planned finishing steps. If resizing or polishing is still required, record which measurements remain provisional. For a size range, assess representative sizes rather than assuming a single approved size proves that every scaled setting and shank will work.
Keep the approximate blank-length calculation separate from the finished inspection result. It is a useful starting point for a uniform strip, not a substitute for measuring the ring that will be worn.
For custom stainless steel rings, HonHo’s current starting quantity is 30 pieces per ring size. The current mold basis is US$100 for the main mold and US$50 for each additional size mold. Submit the full size breakdown and design so that the applicable tooling, samples and unit production can be quoted separately.
For example, three sizes at 30 pieces each make a 90-piece order. One main mold plus two additional size molds totals US$200 under that stated basis. This is tooling arithmetic, not a complete ring quotation; material, stone setting, finish, sample work, testing, packaging and freight still need their own scope.
Custom 925 sterling silver styles have a separate starting quantity of 30 pieces per style. Confirm how the proposed ring-size distribution and tooling will be handled in the silver project quotation rather than applying the stainless steel ring rules automatically.
For an accepted expedited project, HonHo can discuss an initial metal blank as quickly as three days with an additional charge. That blank still needs the relevant finishing, assembly or setting and inspection. Current sample planning is 15–20 days at the earliest, with an outer planning window of one month; bulk production is planned at 25–35 days. Agree the starting approvals and day basis in the quotation.
Before requesting a price, send the ring views or CAD file, material, size distribution, stone details, finish reference and quantity. Identify whether the priority is a particular fit, low weight, sharp relief or a matching set. Ask the manufacturer to review those priorities before tooling so the first sample tests the decisions that matter to the design.
Yes, a properly designed open ring or wrapped-wire form can avoid soldering. Smooth ends, adequate strength and comfortable fit still matter.
No. The design and alloy determine whether casting, fabrication, machining or another route makes sense. Compare tooling, repeatability and finishing requirements for the actual order.
The model or drawing revision, material, size distribution, finish and retained reference sample. Record any component or process changes before production starts.
Review the linked casting references and HonHo’s stainless steel ring options when deciding whether to develop a one-off ring or a repeatable wholesale design.
Send HonHo the ring design, material, size breakdown, setting details and finish requirements. Request a quotation that separates samples, size-specific tooling and bulk production. Contact HonHo with these details.
Updated October 18, 2026.
You’re pricing a new collection, and the sample tray is already split down the middle. The 316L surgical steel pieces look cleaner on cost and daily wear, the
You probably have a launch already in motion, a supplier sample on your desk, and one uncomfortable question underneath it all, will this gold color still look clean
If you are developing the ring itself, compare ring fabrication, casting and CAD methods before approving the shank dimensions and manufacturing route. You’re refining a ring design, the