
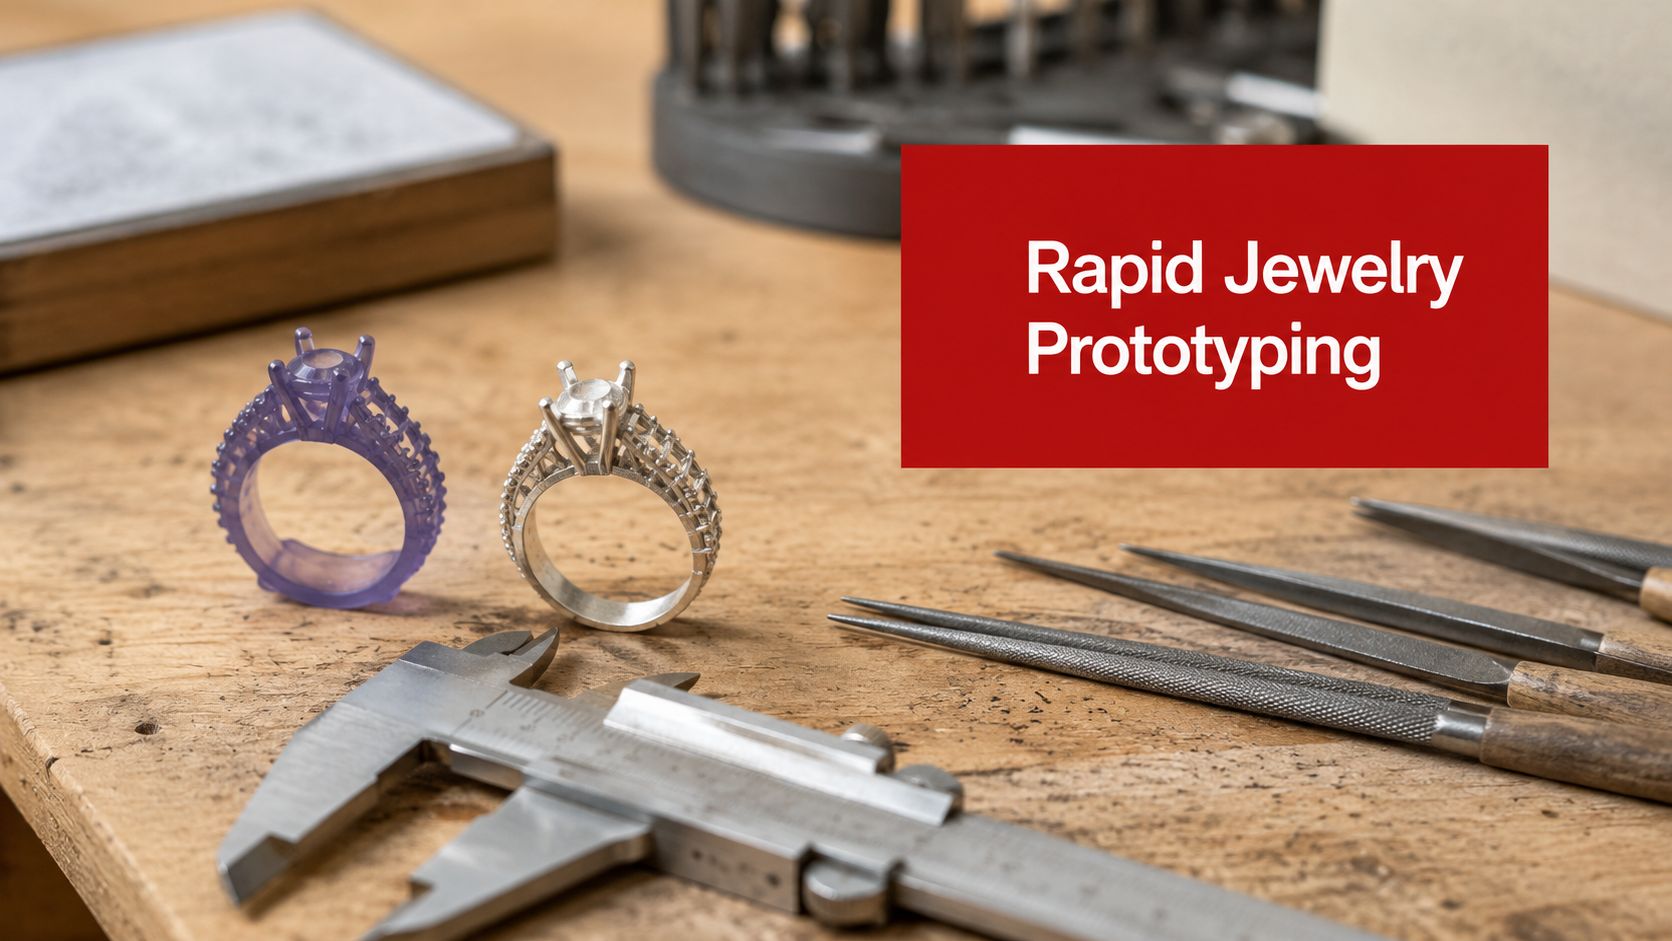
You’ve got a ring, pendant, or bracelet design that looks strong on screen, but the first sample still decides whether the collection ships on time or gets dragged into another round of fixes. That’s the core job of jewelry rapid prototyping. It should tell you whether the piece fits, whether it can be made cleanly, and whether the plated finish will survive the way buyers typically wear it.
Why Jewelry Rapid Prototyping Changes the Production Game
A bad sample can waste more than time. It can send a plated fashion piece back into rework after the prongs are already wrong, the stone seat is off, or the surface tells you too late that polishing will expose flaws. I’ve seen teams treat the prototype like a visual checkpoint, then discover on the production line that the geometry never should have passed approval in the first place.
Jewelry rapid prototyping is the CAD-driven workflow that turns a digital design into a physical sample through 3D printing or CNC machining before bulk production. The point is simple, it lets you check fit, manufacturability, and, for plated jewelry, whether the design is worth moving into a more expensive finishing stage. That makes it part of the OEM and ODM pipeline, not a nice extra.
The market growth tells you this is no niche habit. Technavio projected the wider 3D-printed jewelry market would rise by USD 2.51 billion from 2020 to 2025 at a 22.14% CAGR, and another estimate placed the market at USD 3.57 billion in 2024 and USD 4.21 billion in 2025, implying 17.8% year-over-year growth. Those figures support a simple conclusion, digital sampling is now a standard production tool, not an experimental add-on. Technavio’s market projection
The prototype should answer three decisions
A real sample has to help you decide whether the design fits on the body, whether the piece can be made without ugly surprises, and whether the finish plan still makes sense. It should not be asked to prove every downstream outcome. That’s where teams get into trouble with plated fashion jewelry.
Practical rule: use the prototype to approve geometry and production risk, then use plated pre-production samples to approve finish.
The workflow itself is usually CAD first, then a printable sample, then a casting or machining check. Some industry descriptions place prototyping at about 60% of jewelry 3D-printing demand, while North America has been estimated at roughly 35-42% of global revenue, which reflects early adoption in major retail and design markets. Those numbers line up with what buyers already know, the fastest brands use CAD to sample loops as a standard release step. Industry workflow overview
The scale advantage matters most when you’re building custom or fashion pieces without special tooling. Layer-by-layer additive manufacturing makes highly individualized shapes practical without separate tool-and-die work, which is why OEM and ODM teams use it to move from concept to sample faster. Layer-by-layer jewelry workflow

If your team is still comparing suppliers, use the prototype stage to judge who can protect both design intent and production reality. A useful reference for broader manufacturer selection is finding the right jewelry manufacturer for quality designs. For packaging-sensitive launches, it also helps to think about physical protection at transit stage, including brand protection films that keep surfaces safe before final sign-off.
Comparing the Main Rapid Prototyping Methods
There are five methods that matter in practice, and they do not solve the same problem. If you choose the wrong one, you’ll either overpay for a sample that was never needed or approve a part that cannot tell you anything useful about production.
Pick the method by the decision you need to make
SLA and DLP resin printing are the workhorses for fine detail, stone seats, and fast review cycles. Micro-SLA pushes detail even further for tiny features and delicate pavé zones. Lost-wax casting from printed patterns is what you use when you want a prototype that behaves like a real cast piece. CNC machining makes sense for harder metals and structural checks. Direct metal printing belongs in premium one-offs and special projects, not routine fashion-jewelry sampling.
| Method | Best For | Typical Tolerance | Relative Cost | Lead Time |
|---|---|---|---|---|
| SLA/DLP resin printing | Stone seats, prongs, visual approval | Fine detail, design-dependent | Low to medium | Fast |
| Micro-SLA | Tiny features, intricate surfaces | Very fine detail | Medium | Fast |
| Lost-wax casting from printed patterns | Production-like validation | Casting-dependent | Medium | Medium |
| CNC machining | Hard metals, rigid structural checks | Strong dimensional control | Medium to high | Medium |
| Direct metal printing | Premium one-offs, special trials | Metal-part dependent | High | Slower |
The practical difference is this, resin tells you whether the shape works, while casting tells you whether the shape survives the actual process. That is why lost-wax casting still matters so much in jewelry, especially when the final product will be gold, silver, platinum, or plated after the base piece is verified.
What each method is actually good at
SLA and DLP are usually the fastest route for approval. They’re strong on geometry, but they’re not enough if your buyer wants to know how a plated finish will hold up after polishing. CNC is the right call when the design has rigid parts, thicker sections, or when you need a more honest read on machining behavior. Direct metal printing can be useful, but in most plated fashion-jewelry programs it is too expensive for the early sampling stage.
Buyer rule: stay with resin for design approval, move to casting for production validation, and use CNC only when the part’s function or material demands it.
If you’re using a linear CAD-to-print flow in a private-label launch, don’t confuse speed with certainty. The right method is the one that answers the next production question, not the one that looks most advanced.
Materials and Tolerances Buyers Should Expect
The material you prototype in should match the decision you need to make. A castable resin sample and a sterling silver sample do not serve the same purpose, and treating them as interchangeable is how brands approve the wrong thing.

Match the material to the decision
Castable photopolymer resin is the standard choice when you want fine geometry and a clean path into investment casting. Wax-like resin and machinable wax help when the casting route needs a more traditional pattern or easier hand adjustment. Brass, bronze, stainless steel, and sterling silver are better when the buyer needs a closer read on mass, feel, or actual wear behavior.
A useful technical reference on 3D printing tolerances is worth keeping nearby because tolerances are not just a printer spec, they’re a design decision. Print orientation, layer thickness, and post-cleaning all affect support scars and surface quality, so a rough sample may reflect process choices more than the design itself.
For plated jewelry, that matters a lot. A low-cost resin sample can be enough for stone-setting trials, but it can also mislead a buyer into thinking the final surface will look smoother than it really will. If the decision is about color approval or wear, you need a more production-like sample, not just a clean-looking print.
Here’s the simplest rule:
- Castable resin: best for detailed design checks and casting readiness.
- Machinable wax: useful when carving or downstream casting steps matter.
- Sterling silver: better for final fit and wear feel.
- Brass or bronze: useful for structural and handling checks.
- Stainless steel: better when hardness and durability need a realistic read.
For material selection in corrosion-sensitive programs, a useful companion resource is the 316L stainless steel jewelry guide, especially if your line includes durable fashion pieces that need more than visual approval. The wrong material won’t just waste time, it can approve a design that fails for reasons the sample never exposed.
Lead Times, Cost Drivers, and Where Prototypes Save Money
The value of rapid prototyping is not the printer itself. It’s the fact that you can catch a bad decision before it becomes a bad production run. That’s where the cost savings happen, and that’s also where many buyers undercount the hidden work.

What actually drives the bill
Industry guides report that 3D printing can reduce prototyping costs by 40% to 70% and compress timelines from weeks to hours when low-cost resin or wax prototypes are used for fit checks before precious-metal sampling. Cost and time compression in jewelry prototyping That saving is real, but it does not erase post-curing, support removal, re-shoots for stone-seat fixes, polishing, or plating verification.
A procurement team should ask for a line-by-line quote. Include print material, support removal, cleaning, curing, hand finishing, casting prep, and any plated sample step that follows. If a vendor bundles everything into a vague sample fee, you’ll struggle to compare suppliers fairly.
The internal comparison buyers usually need is simple. Traditional hand-carving and silicone tooling are slower and less flexible, while CAD-to-print shortens the path to a decision-grade sample. For molding-related fees and how they affect small runs, jewelry mold fee is a useful pricing reference point when you’re comparing tooling-heavy and digital sampling routes.
Use a lead-time ladder
A same-day resin print can be enough for geometry checks. A castable pattern often needs print, clean, and cure time before it can move forward. Metal-printed samples sit at the slower end of the ladder because they solve a different problem, and that problem usually isn’t fast approval.
If you’re buying for plated fashion jewelry, demand clarity on every step that touches the surface. That is where a low quote becomes expensive later.
File Prep and Design for Prototyping Checklist
The fastest way to waste a sample is to send a sloppy file. A good factory can repair some problems, but you should not expect the CAD team to rescue a design that was never ready to print or cast.

Check the file before you send it
- Closed mesh: make sure the model is watertight. Open edges lead to printable errors and wasted review cycles.
- Wall thickness: keep it realistic for the chosen process, because fragile walls can break during support removal or casting.
- Stone seats: inspect undercuts and seat depth early, since bad geometry shows up as loose stones or broken prongs.
- Sprues and vents: plan them for lost-wax casting, not after the file is already approved.
- Orientation: place visible faces to reduce support scars where buyers will see them first.
Those choices sound small, but each one maps to a failure mode a buyer can recognize. Thin walls can collapse, bad orientation can leave scars on polished faces, and a poor stone seat can make the entire sample feel unreliable. A factory that flags these issues before printing is saving you from a reject later.
If your team works from multiple file types, STL, OBJ, and STEP are the usual handoff formats factories can handle without friction. Package those files with reference renders, a short tolerance note, and a revision history so the CAD team can quote correctly on the first pass. For teams building their own in-house design workflow, the jewelry CAD design guide is a practical companion to keep file prep consistent.
One more point matters for supplier selection. HonHo Jewelry provides CAD design, sampling, plating, and inspection in an OEM and ODM workflow, so one team can handle the file review and the sample loop instead of pushing revisions across separate vendors. That kind of integration is useful when launch timing is tight and revisions can’t afford to bounce between departments.
A Real Prototyping Workflow From CAD to Plated Sample
A good workflow is not dramatic. It’s disciplined. A brand sends a STEP file on Monday, the factory’s CAD team cleans the geometry on Tuesday, a castable resin pattern gets printed and cured by Thursday, then a castable route moves into silver and plating verification before the buyer signs off.
What matters is not the calendar story, but the control points. The buyer should decide how many digital revisions are allowed, whether to authorize a visual prototype or go straight to a plated sample, and which QC evidence is required before approval. If the sample is supposed to support a plating decision, ask for plating thickness measurement and salt-spray testing on request instead of relying on appearance alone.
The fastest brands keep the loop tight. They accept CAD changes quickly, they don’t over-sample, and they ask the factory to confirm where the sample is meant to be truthful and where it is only a visual placeholder. A design tool built for faster approval loops, like shoe creator software, shows the same basic lesson in another category, digital iteration only helps when the review process is organized.
The sample is a decision tool, not a trophy. If it doesn’t tell you what happens after casting, finishing, and plating, it’s only half useful.
In a solid OEM/ODM setup, the team should also explain who owns CAD changes, who pays if the first prototype fails casting, and whether plating samples are quoted separately. Flexible MOQs matter too, especially for small private-label launches that don’t need a huge first run.
What a Prototype Can and Cannot Tell You About Finish
A clean prototype does not guarantee a clean plated result. That’s the mistake buyers make when they judge the sample only by shape and surface gloss. Plated fashion jewelry lives or dies on the combination of geometry, substrate prep, and finishing discipline.
Fit is not finish
A prototype can tell you whether a prong is positioned correctly, whether a clasp closes, and whether a stone seat is usable. It can also reveal whether support scars will be hard to remove on a visible face. What it cannot do by itself is prove that edge wear, color fade, or scratch visibility will hold up after plating and use.
That’s because plating performance depends on the layer stack, the base metal, and the finishing sequence, not only on the shape under it. A resin print might look perfect after curing and sanding, then fail to predict what happens once the part is polished, plated, and worn. The geometry passed, but the finish system did not.
For plated sample approval, look for these signs instead:
- Uniform color at edges, not just on flat faces.
- No visible support scars after polishing.
- Consistent thickness on inner curves and recessed areas.
- No raw transitions where polish left the surface uneven.
What a real partner should show you
An actual prototyping partner should handle NDA files securely, use encrypted transfer, and keep CAD work in-house so revisions don’t drift. If plating is part of the approval, the shop should document whether it uses PVD or electroplating, and it should be able to state the thickness range it is applying. For integrated production, quality control also matters, including 100 percent inspection, REACH and ISO 9001:2015 alignment, and a clear answer on MOQs for the style you want.
One practical benchmark is whether the supplier can keep defect rates tightly controlled and still move fast on repeat samples. The more the partner treats prototyping as a production gate rather than a print job, the less likely you are to approve something that looks good but wears badly.
Next Steps and Common Questions for Brands Starting Out
If you’re starting from a sketch, a reference photo, or a rough concept, send that to a supplier and ask for CAD conversion first. A realistic rhythm is CAD in 1 to 2 days and sampling in 7 to 20 days, depending on the material path and the amount of revision needed. Fast is good, but only if the sample still answers the right question.
Quick buyer questions
How many digital iterations are normal before sampling?
As many as it takes to lock geometry, but don’t use the prototype phase to chase finish approval.
Can prototypes be plated for color approval?
Yes, but plated approval should be treated as a separate decision from shape approval.
What’s the smallest orderable run?
For some 925 silver programs, flexible MOQs can start around 30 pieces per style when the supplier is set up for that workflow.
How is confidentiality handled?
Ask for NDAs, restricted file access, and encrypted transfers before you send any private-label design.
A good assumption to challenge is this, if the prototype looks right, the plated piece will be right. That’s not how production works. The only safe path is to test fit, then test casting behavior, then approve finish on a plated sample.
If you need a prototyping partner that can move from CAD review to sampling, plating, and inspection in one OEM/ODM workflow, HonHo Jewelry handles custom jewelry production for plated fashion, stainless steel, brass, and 925 silver projects. Share your file or reference image with HonHo Jewelry and ask for a sample quote built around fit, finish, and lead time.
Surgical Steel vs Sterling Silver: Buyer Guide
You’re pricing a new collection, and the sample tray is already split down the middle.
How to Gold Plated Jewelry the Right Way for Lasting Color
You probably have a launch already in motion, a supplier sample on your desk, and
What Is a Shank on a Ring: Guide to Design & Durability
You’re refining a ring design, the stone looks right, the setting is approved, and the